Many car owners will install car lights, but not many car owners will be able to adjust the car lights. In fact, if you study hard, you can adjust the car lights by yourself. Let's take a look at this issue and how to adjust the car headlights by yourself.
Method 1 to adjust the angle of car headlights:
Rotary interior headlight height adjustment button
Most cars now have a "headlight height adjustment" function button, as shown below:
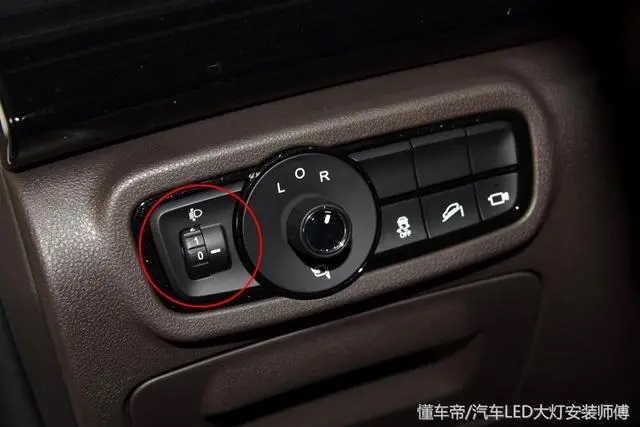
The button in the red circle in the picture is the headlight height adjustment button. Rotate it upward, and the light illumination height will go down; rotate it downward, and the light illumination height will go up.
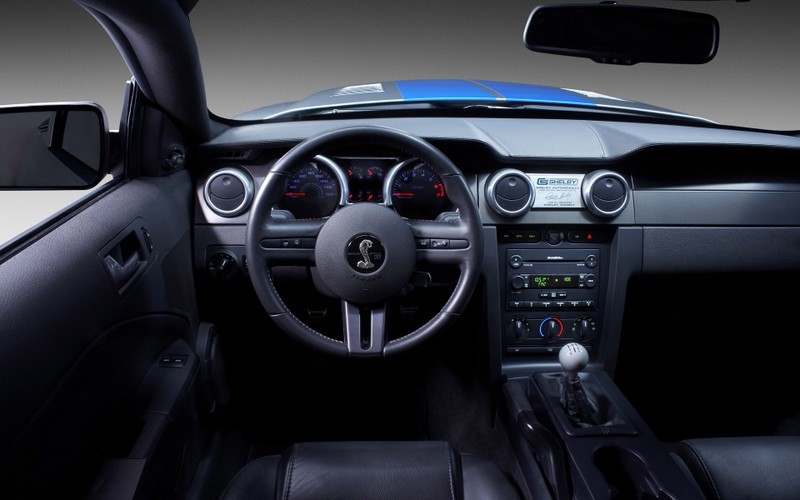
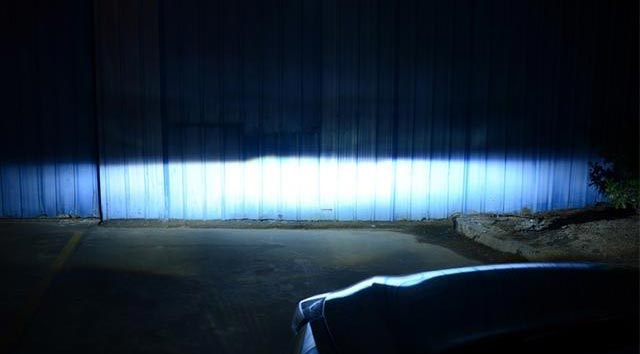
At night, drive the car about 10 meters opposite a wall, sit in the driver's seat, and observe the light position while turning the button. You can see obvious changes in the headlight light.
But please note: this button controls the left and right headlights at the same time. If you need to adjust the left or right side separately, or some cars do not have the "adjustable headlight height" function and do not have a headlight height adjustment button, you must use the second one. method.
Car headlight angle adjustment method 2:
Adjust the headlight assembly fine-tuning button
A few models do not have the "adjustable headlight height" function, so there is no headlight height adjustment button, but there must be a fine-tuning button on the headlight assembly, as shown below:
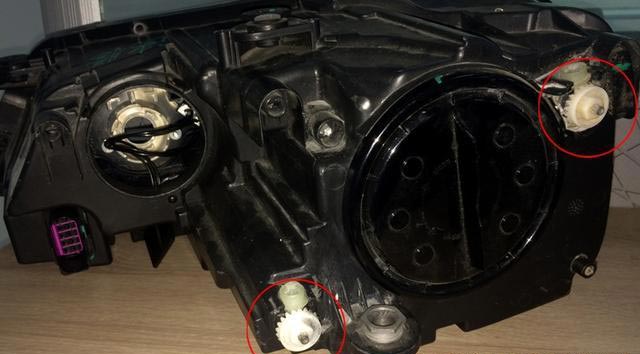
The two white buttons in the red circle in the picture above are the fine-tuning buttons. Use the hex wrench to rotate and twist to see the light shape change.
The picture was taken after I removed the headlight assembly. Before it was removed, the angle when installed on the car was as follows:
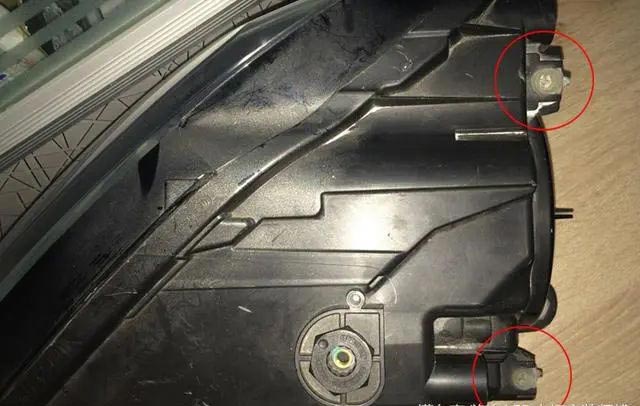
Generally speaking, if ordinary car owners want to adjust the height of the headlights, they can just adjust the height adjustment button in the cab. There is no need to adjust the fine-tuning button on the headlight assembly; unless one side has a new assembly, The height difference between the light shape and the old one on the other side is too big, so you need to adjust the new one, otherwise there is no need to move the button on the headlight assembly.
The button on the headlight assembly only functions as a fine adjustment, and the adjustment range is not too large. Moreover, rough operation is not allowed to avoid damaging the headlight assembly.
Adjustment tools: Allen wrench
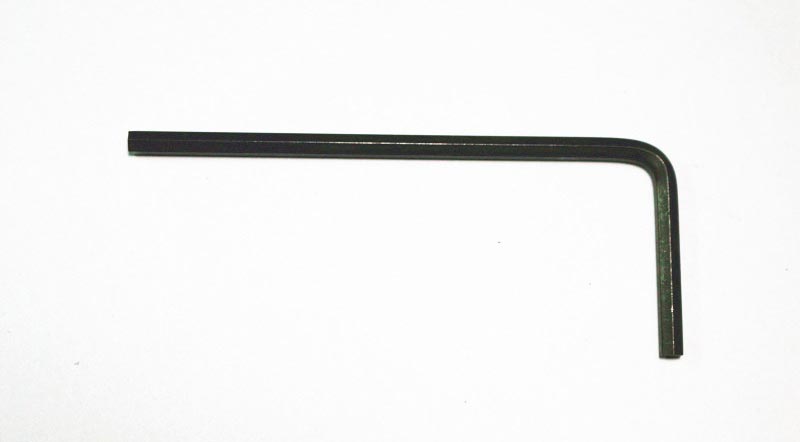
The fine-tuning buttons of most headlight assemblies are controlled by an internal hexagonal nut. You can use an internal hexagonal wrench to rotate and adjust the internal hexagonal nut. The inner hexagonal wrench is as shown below:
Adjust the hexagonal nut to make the height of the headlights consistent on the left and right
As mentioned above, the fine-tuning button on the headlight assembly controls a single headlight assembly individually.
For cars without a headlight height adjustment button, the headlight height can be adjusted by adjusting the left and right headlight assemblies respectively;
For cars with a "height button to adjust the headlight angle" in the cab, but the left and right heights are inconsistent, you can adjust one of the headlight assemblies to make the heights on both sides the same. The adjustment method is as shown below:
By adjusting the operation, the left and right headlights can be illuminated at the same height.
Specific adjustment method of headlight assembly:
First, aim the front of the car at a wall, about 10 meters away. Pay attention to the alignment without any deflection, and keep the body level. In order to be as accurate as possible, you can use chalk to draw marks. Note that the vehicle should be under normal load standards. No excess load.
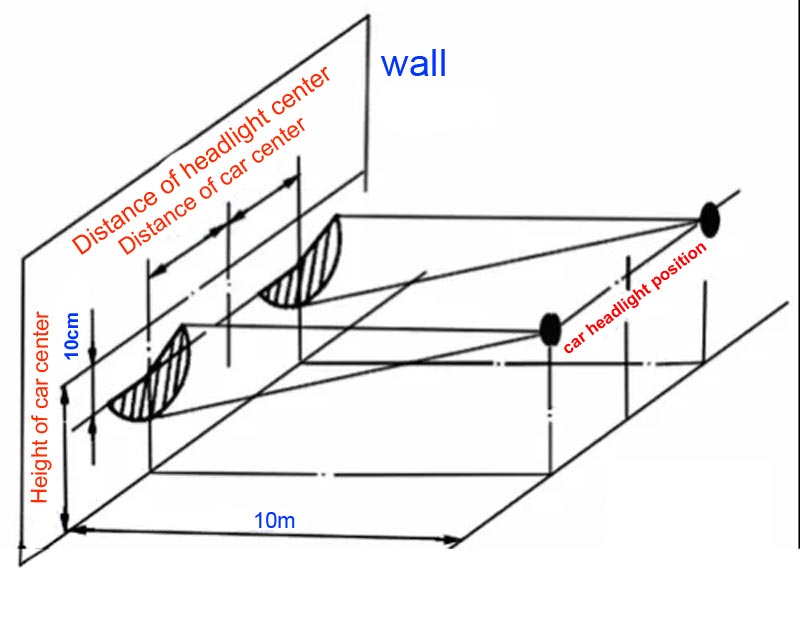
Turn on the car lights, and the circle of light projected on the wall is the basis for correction. The distance from the center point of the two car lights to the ground is equidistant from the projection on the wall.
The distance from the center point of the right lamp to the ground should be equidistant from its projection on the wall, while the distance from the left lamp should be 10cm higher than its projection.
The left headlight should be absolutely straight forward, while the right headlight can be slightly pointed to the right, so that the right side can see you clearly. It is effective in foggy weather.
Cover one of the headlights for easy adjustment. Use a thick cloth to cover one of the headlights so that you can make effective adjustments according to the changes in the beam of light from one headlight on the wall. Use two screwdrivers for debugging and one for adjusting the beam. height, and the other is used to adjust the width of the beam.
Of course, the situation of each headlight assembly is different. If the high beam is too high when the low beam is adjusted to 30 meters, you can lower both the high and low beams. This is not a mathematical question, it can vary from person to person and depends on the specific situation.

