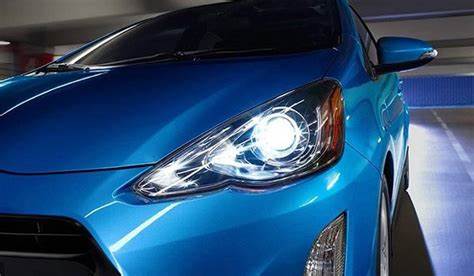
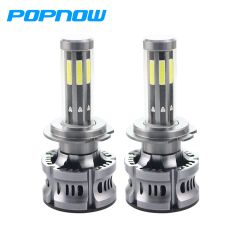
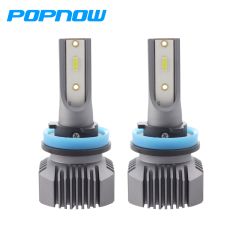
Choosing the right projector headlight bulbs requires that you check your size requirements. You can learn your vehicle's headlight size from your owner's manual. From here, consider how bright you want your bulbs to be. Projector headlight bulbs come in different variations of brightness. The higher the wattage, the more bright the bulb is, and vice versa.
You can also choose different types of bulbs. Halogen lights give you ample brightness but do consume more energy than other options. This means if you're looking for a more efficient option, you should go with LED bulbs. Even HID lights use less energy than when compared to halogen lights.
You may also have control over the color hue of your projector lights. Some people prefer the traditional yellowish color whereas some prefer a more modern, white color. Be sure to also consider the brand. You want a durable, reliable product. You can usually learn a lot about potential bulbs by considering previous customer reviews.
How to Replace/Install Projector Headlight Bulbs
Disclaimer: The guidelines in this story are general and not meant to replace instructions for your specific vehicle. Please consult your owner's manual or repair guide before attempting repairs.
Replacing or installing your headlight bulbs is easy and can usually be done in a few minutes. You can install or replace projector headlight bulbs with the following steps:
Prepare Your Vehicle
Prepare for your installation by parking your vehicle in a safe place. Then, unbox your new headlight bulbs. Be sure that your lights came with a wiring kit. Otherwise, you will need one of those for installation.
Remove the Existing Headlights
The process of removing your existing headlights, and how easy or difficult it is, will depend on the make and model of your vehicle. For example, older models may require that you first remove the whole headlight assembly to access the bulb. Fortunately, you can usually find this information in your vehicle's owner's manual.
Remove the bolts and then pull the headlight assembly unit forward. Disconnect the writing harness and twist the bulb until it is free. Pull it out carefully, being sure not to touch the glass bulb as it may be hot.
Place the New Bulb
Place the new bulb, then twist it into place. The new bulb should fit snugly, as long as it is the right bulb size. Reconnect the wiring harness until it is secure.
Check that the Lights Work
Check that the lights work before replacing the headlight assembly harness kit. If they don't work, the wires may still be loose, or it could be a problem with the headlights themselves. Check that you like the visibility before replacing the whole unit.
You can replace a broken projector headlight bulb with the same steps. You may also decide to upgrade your headlights again in the future, where you can complete the same steps.


